Happy Bucket
Teacher Implementation Guide
A practical, step-by-step guide for launching and running the
Happy Bucket Classroom Activity with confidence.
 Getting Started
Weekly Routine
Resources
Classroom Activity Page
Getting Started
Weekly Routine
Resources
Classroom Activity Page
Why This Activity Works
The Happy Bucket turns the invisible idea of “filling someone’s bucket” into something students can see and touch every day.
When students regularly write kind act cards, review them together, and celebrate one another, kindness becomes a visible classroom culture rather than an occasional event.
Getting Started – Setup (Day 1)
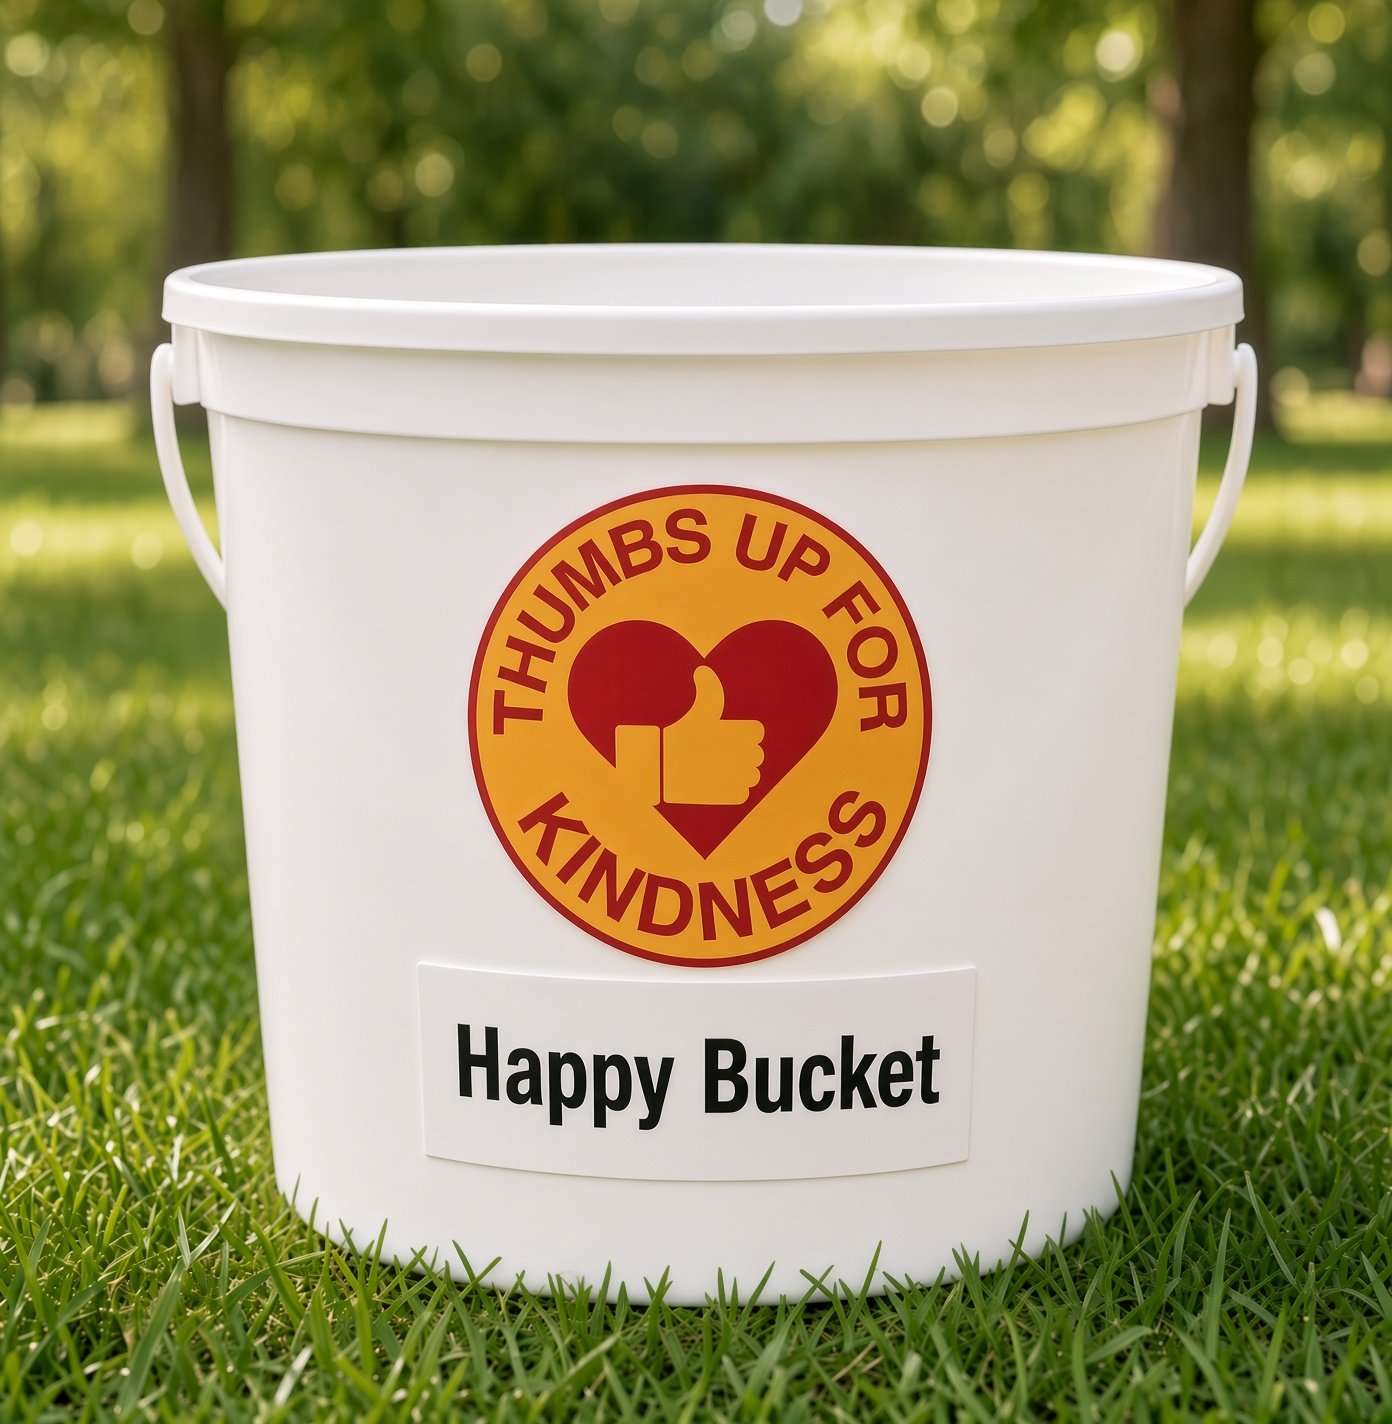
1. Prepare the Physical Happy Bucket
- Choose a clean bucket, pail, or decorated box
- Attach the Thumbs Up For Kindness logo (sticker or printed image)
- Place it in a visible, accessible spot in the classroom
2. Prepare Kindness Act Cards
- Print the free Kindness Act Cards (blank + examples)
- Cut them apart and place a stack next to the bucket
- Keep extra blank paper available so students can make their own
3. Introduce the Concept to Students
Use simple language:
4. Model the First Cards
Write 2–3 example cards yourself in front of the class (using the F / T format) and drop them in the bucket so students clearly understand how it works.
Building the Daily Habit
Encourage students to notice kind acts throughout the day and write a card as soon as possible.
- Keep cards and pencils near the bucket
- Remind students during transitions or morning meetings
- Praise students who write cards (this models the behavior you want)
- Allow both “I did a kind act” and “Someone was kind to me” cards
The Happy Bucket Manager Role
Assign a rotating Happy Bucket Manager (change weekly or every two weeks).
Manager Responsibilities
- Encourage classmates to write cards during the week
- Help keep the area tidy
- Assist during the weekly review
- Help call students forward and present certificates
Weekly Review & Celebration Routine
Choose a consistent time each week (e.g., Friday morning meeting or end-of-week circle).
Suggested 10–15 Minute Ceremony
- Open the bucket – Happy Bucket Manager helps remove the cards.
- Read selected cards – Share several kind acts with the class.
- Call people up – Invite the students named on the cards to stand or come forward.
- Acknowledge & celebrate – Class gives thumbs up 👍, applause, and short positive comments.
- Reflect on the feeling – Ask: “How did it feel to give or receive this kindness?”
- Award certificates – Present Happy Bucket Certificates (optional but highly recommended).
- Reset – Return any unread cards or start fresh for the next week.
Using Happy Bucket Certificates
The printable certificate reinforces that kindness creates lasting K-Sparks.
- Fill in the student’s name
- Present it during the weekly celebration
- Students can keep it in class or take it home to share with family
Certificate wording:
“Kindness contributor to our class – Happy Bucket.
Thank you to you from your class – you have created a ripple effect of kindness – K-Sparks in our class.”
Teacher Tips for Success
- Start small – Focus on quality of recognition rather than quantity of cards.
- Model constantly – Write your own cards and speak about kindness daily.
- Include everyone – Watch for quieter students and help them both give and receive recognition.
- Keep it positive – The Happy Bucket is for celebrating kindness, not correcting behavior.
- Connect to the bigger picture – Link the activity to the Kindness Cycle: Notice → Choose → Act.
- Involve families – Send certificates home and share the Happy Bucket concept with parents.
Helpful Resources
Everything you need to run the activity successfully:
Happy Bucket Overview Classroom Activity Page Printable Certificate Sponsor Happy BucketsMore Kindness Act Ideas Thumbs Up Ideas
Ready to Launch in Your Classroom?
Set up the bucket, introduce the idea, assign a Manager, and begin celebrating kindness every week.
Go to Classroom Activity Back to Happy Bucket